The opportunity to apply design to life is everywhere. Even in a chair. I have two old chairs that have been begging for new life. I've decided to turn them into siblings. Though the chair styles are different, we'll be redoing them using the same fabric, thus creating a chair pair. Today's post is a glimpse into the process of Chair #1.
Disclaimer: We are in no way, shape, form or stretch of the imagination, re-upholstery experts. What I'm showing you today is likely evidence of that fact (not that I would know how right or wrong we went about all of this), but hopefully that also makes it interesting.
Disclaimer: We are in no way, shape, form or stretch of the imagination, re-upholstery experts. What I'm showing you today is likely evidence of that fact (not that I would know how right or wrong we went about all of this), but hopefully that also makes it interesting.
Introducing Chair #1:
The project starts with a chair my parents purchased at an antique store in my dad's hometown, Emery, SD. I recently acquired it and decided it needed a major face-lift (Reason #1 - it's so not living up to it's potential wearing maroon. Reason #2 - I've been dreaming of a white house and the chair with it's grandma qualities simply didn't belong).
And the ripping of fabric begins...See, this is so grandma-esque.
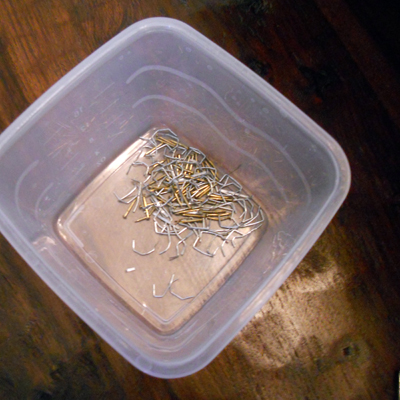
Lots and lots of little bitty staples and nails.
Dangerous.
The guts revealed!
New Foam = New Life!
A DIY project isn't fun if it's not a mess.
My vision, becoming reality....
It's from the Netherlands collection.
I chose Cloud Linen. It is heavenly.
I worked, too (not just taking photos).
There will be a reveal of the final product, but only after I've documented the process behind Chair #2 as well. (Slotted for this weekend!) So stay tuned. And thanks for your patience.


No comments:
Post a Comment